Last year I made these awesome reduction prints with my 3rd grade students.
However, I really can’t take credit for this lesson at all. I found a great article on this blog about how this was done with 4th grade students.

The video pretty much shows how to go through the whole process. I made the video before introducing the concept of reduction print to the students and I think they were able to grasp it much better once they saw the project mapped out from start to finish.
At each step of the way, I also showed videos that defined what was going to happen on that specific day.
The first two days were spent using Chromebooks to look up images of prairie animals that the students were learning about in their classes.
They made a final sketch on copy paper at the same size as the printing plate. (5.5″ x 8.5″)
Then we taped the sketches to the Styrofoam and transferred the image to the plate.

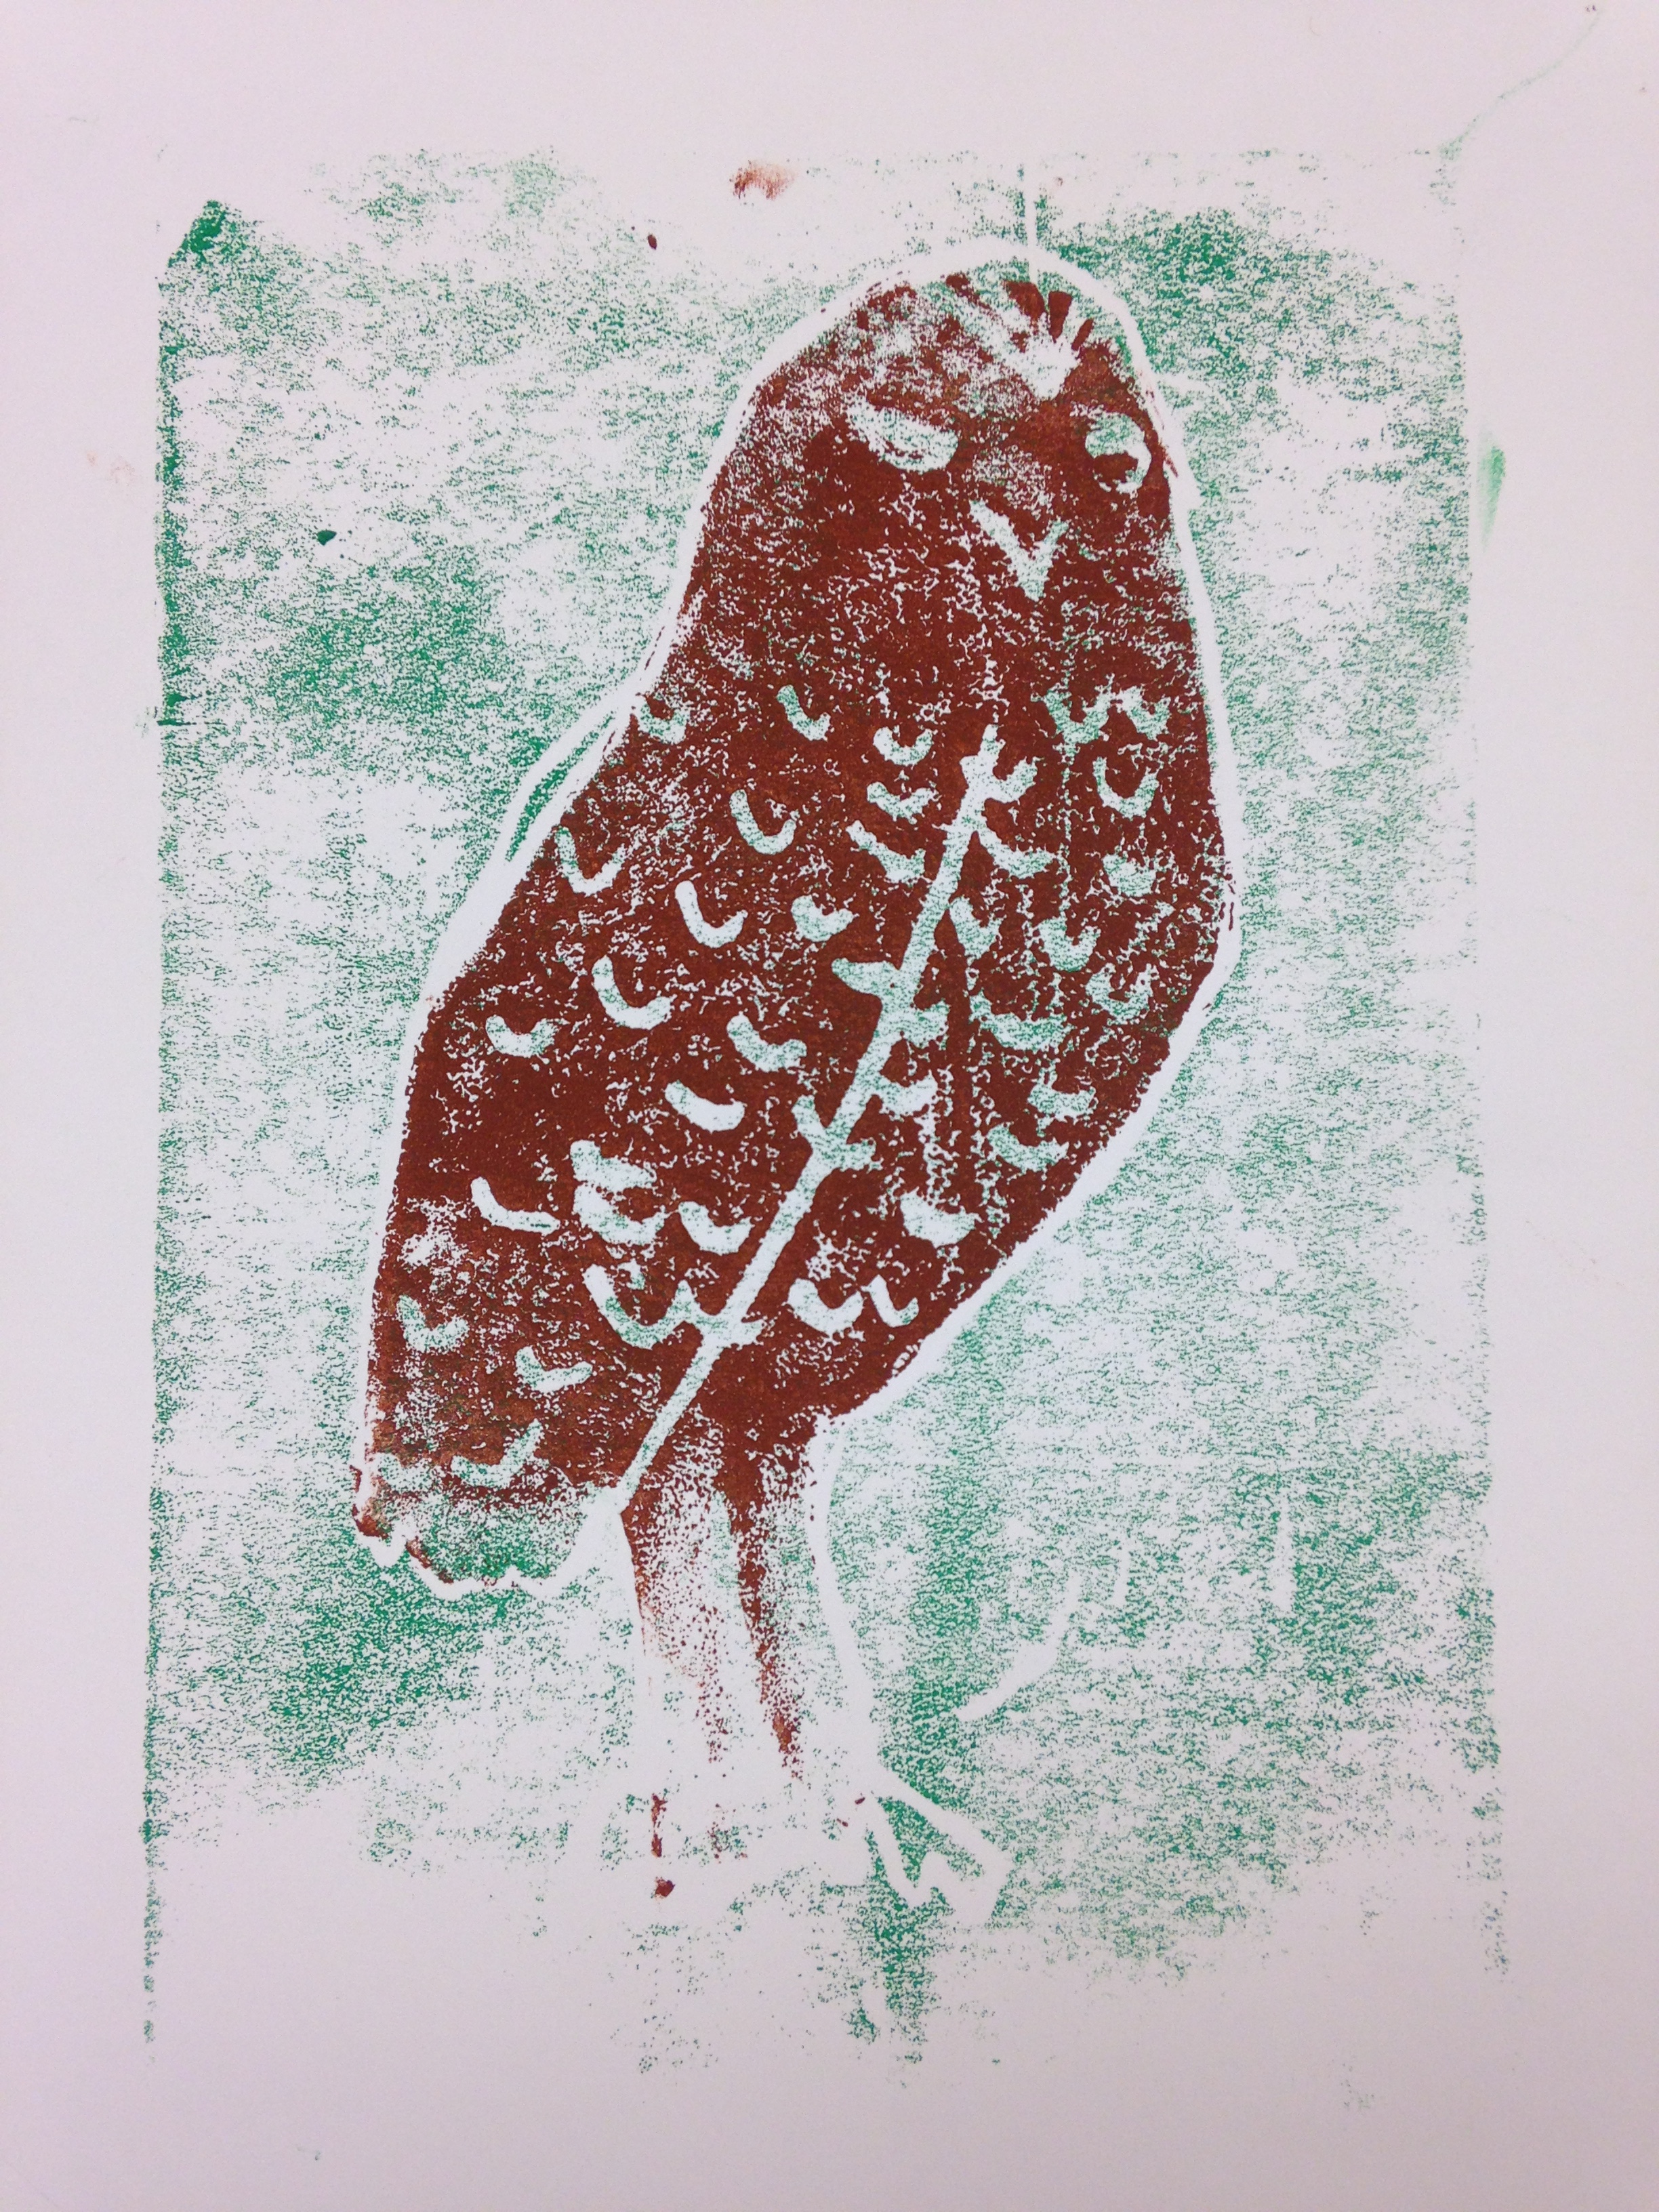
Then we printed the first color. I recommend having students print light colors on this first layer.
 At the beginning of the following class, I have 5-6 students pass back all the prints and have everyone make a nice neat stack at their seat. Each table has container of wipes for cleaning the printing plates and the tables.
Then we cut up the printing plates and print the second color.
None of my classes made it to printing a third color, but here is a demonstration in case your class has time for a third color:


Reblogged this on The Art and Design of KeithMikeTom.
LikeLike
Amazing! I teach Lino Print (I love it) and this is a great introduction to doing that! they are so pretty!
LikeLike